How to Install a Level 2 EV Charger at Home (Super Simple Guide)
What’s a Level 2 charger? It’s basically a 240-volt EV charging unit (similar voltage as an electric dryer) that tops up your car way faster than a normal outlet. Level 2 chargers add roughly 25–40 miles of range per hour of charging, so you can juice up an empty battery overnight (usually 4–10 hours to full). By contrast, a Level 1 (standard 120V) plug only gives 3–5 miles/hour. In practice, most home EV owners use Level 2 because it’s “plug in when you get home and wake up with a full charge.” In fact, surveys show about 80% of EV charging happens at home. It’s cheaper per kWh too, compared to public charging. In short: a Level 2 charger means quicker, cheaper, always-available charging at home.
How does it work? You either hardwire the charger into your breaker panel or plug it into a 240V outlet (like a NEMA 14-50). When you park, just plug the cable into your car’s inlet and it charges at high speed. All the brains (safety electronics) are in the charger (EVSE), and your car’s onboard charger converts AC to DC for the battery.
EV Charging Plugs and Chargers by Brand
Different cars use different plugs, so make sure the charger matches your EV.
- Standard EVs (Mercedes EQ, Hyundai Ioniq/Kona, Nissan Leaf/Ariya, etc.) use the SAE J1772 plug (often just called “J-plug” or Type 1 in the US) for Level 1/2 charging. All non-Tesla EVs sold in the US use J1772, and any Level 2 J1772 charger will work for them. (Tesla cars come with a small adapter so they can also use J1772 chargers.) Popular Level 2 stations for these cars include the ChargePoint Home Flex, JuiceBox (Enel X), ClipperCreek HCS, Emporia EV Charger, EVBox Elvi, and even home-brand chargers like Nissan’s Wallbox or Hyundai’s own Home Charger.
- Tesla (Model S/3/X/Y etc.) uses Tesla’s unique NACS plug (formerly just the “Tesla connector”) for AC charging. The simplest solution for a Tesla is the Tesla Wall Connector (about $400–$550 from Tesla’s website) which mounts on your wall and plugs in directly. (It can deliver up to 11.5 kW to a Tesla on a 60A circuit.) Alternatively, you can use any J1772 Level 2 charger by adding Tesla’s NACS adapter (sold by Tesla or third parties) that lets the Tesla take power from a J-plug station. Some charger brands even make a plug-in model with a 14-50 outlet – Tesla’s Mobile Connector can plug into a 14-50 outlet for ~30A charging if you don’t want to hardwire.
EV Chargers by Brand – Quick Comparison:
| Brand of EV | Charging Port | Example Level 2 Chargers |
|---|---|---|
| Tesla (Model S/3/X/Y) | Tesla NACS plug | Tesla Wall Connector; plus JuiceBox, ChargePoint, Emporia, etc. with Tesla NACS adapter |
| Mercedes EQ (electric) | J1772 (SAE Combo 1) | Any J1772 EVSE: e.g. ChargePoint Home Flex, JuiceBox, Enel X, ClipperCreek, etc. |
| Hyundai EV (Ioniq/Kona) | J1772 | Same as above (J-plug chargers). Hyundai also partners on chargers like Kia’s announcements, but any certified J1772 charger works. |
| Nissan EV (Leaf/Ariya) | J1772 (AC) | Any J1772 charger (e.g. ClipperCreek, JuiceBox, Nissan’s Wallbox by Wallbox, etc.). (Level 2 chargers work with all EVs.) |
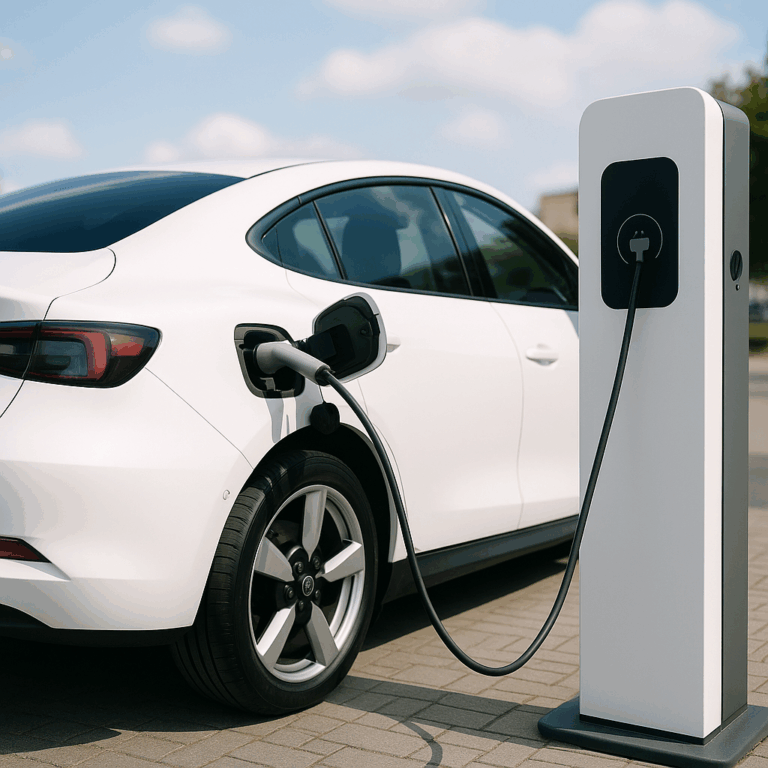
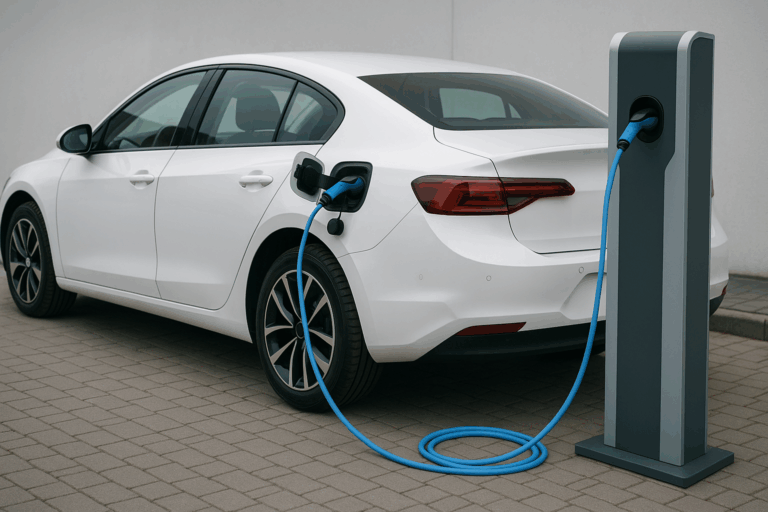
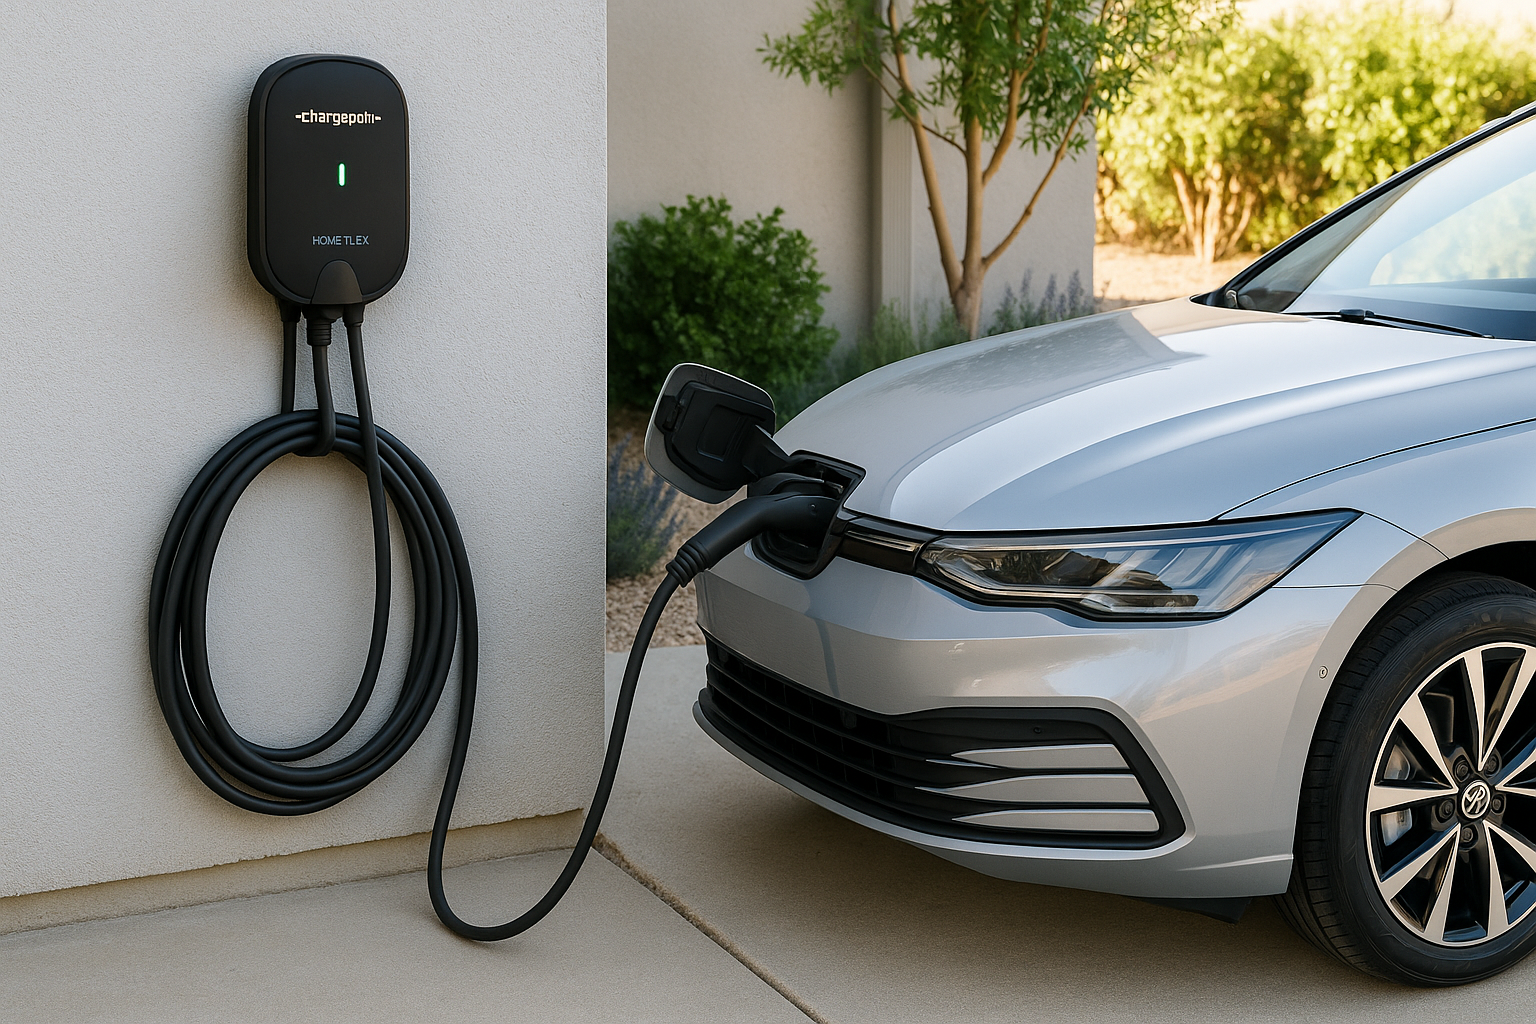
Level 2 charging for any EV. Modern Level 2 stations (like this ChargePoint Home Flex) plug into your car’s port. (Tesla’s plug looks different, but adapters exist.) Each of the above chargers supports 240 V AC charging – just ensure you match the plug and wire gauge to your car’s onboard charger capacity.

Installation Steps (DIY vs Hiring an Electrician)
Here’s the basic process to get your Level 2 charger up and running:
- Plan Location & Power: Pick a spot near where you park – often an exterior wall of the garage or driveway. Decide whether to mount on the wall or use a pedestal. Then check your breaker panel: you’ll need a free double-pole 240 V breaker slot (e.g. 50 A for a 40 A charger) and enough overall capacity. If your home has a 200 A main panel with a couple of empty spaces, you’re usually good. (Older homes might need an upgrade.)
- DIY vs Pro: You can install it yourself only if you’re very comfortable with high-voltage wiring and local code. Otherwise, hiring a licensed electrician is strongly recommended. Pros will handle permits, panel upgrades, and make sure everything is to code (e.g. correct wire size, GFCI requirements, and 125% breaker sizing).
- If DIY: Obtain any required electrical permit (most places do require a permit/inspection for an EV circuit). Assemble your tools (drill, screwdrivers, fish tape, wire strippers, wrench, voltage tester, etc.). Run the 4-conductor cable (e.g. 6 AWG for 40 A load, per code) from the panel to the charger location – through conduit or raceway if needed. Install a dedicated double-pole breaker in the main panel sized to 125% of your charger’s max current (e.g. a 50 A breaker for a 40 A charger). Then mount the EV charger on the wall, wire the two hot legs, neutral (if needed), and ground to the unit, following the charger’s instructions, and test.
- If Hiring a Pro: Expect them to do the above steps. The electrician will likely do a load calculation, pull permits, wire in the breaker, and mount the unit safely. This is safer and ensures warranty/code compliance, but costs more (typically $300–$2,000+ for installation).
- Wiring in the Charger. Whether DIY or not, the final steps are similar: turn off power, connect the cable to the new breaker and to the charger’s terminals, mount the charger, and attach its plug/cable holder. For hardwired models, the charger’s internal wiring will tie to your hot (X, Y) legs and ground. For a plug-in model (14-50 outlet), the charger’s own cord just plugs into that outlet. Always test that the charger powers on (often a green LED) before plugging in the car.
- Final Checks. Turn the breaker on and do a short test charge. Make sure the charger’s status lights are normal and your car is charging. Schedule any required city inspection to sign off the work (this completes the permit).
Tools & Hardware Checklist
Before you start, gather everything you’ll need:
- Level 2 Charger Unit: The EVSE itself (for example, a ChargePoint Home Flex, JuiceBox JS Series, Tesla Wall Connector, etc.). Make sure it matches your desired amperage (30–40 A is common).
- Circuit Breaker: A 2-pole breaker sized at 125% of the charger’s current. E.g. use a 50 A 2-pole breaker for a 40 A charger. (Most panels use specific brands; a Square D or Siemens breaker is common.)
- Wire/Cable: 4-conductor copper cable (usually 6 or 8 AWG) rated for 240 V. The gauge depends on your charger’s amperage and distance (check NEC tables). If you use a NEMA 14-50 outlet, get a 50 A (6 AWG) cable and connector kit.
- Conduit or Raceway: PVC or metal conduit for protection (often required if wiring is exposed or outside). Elbows, connectors, and straps as needed.
- Outlets (optional): A NEMA 14-50R 240V receptacle if you go plug-in instead of hardwire. (See photo below.)
- Fasteners & Box: Screws, anchors, or a wallbox to mount the charger on wall. If outdoors, use a weatherproof electrical box.
- Safety Gear: Circuit-breaker lockout or cover, insulated tools, and testers to confirm power is off.
- Permit & Documentation: Don’t forget to pull a building/electrical permit if required by your city. Have the charger’s manual and any rebate forms handy.
Safety Tips & Permits
- Get a Permit: Nearly all jurisdictions require a permit and inspection for installing a new 240V circuit (including EV chargers). Failing to do this can be illegal and invalidate insurance or warranties.
- Qualified Install: If you’re not sure about wiring or code, hire a professional. Mistakes can be very dangerous (risk of fire) and may void your EV’s warranty.
- Check Panel Load: Confirm your panel can handle the extra load. If you have a 200 A main panel and only a few other big loads, you’re probably fine. If your panel is older or 100 A, talk to an electrician about an upgrade or load management solution.
- Breaker Sizing: Use the 125% rule: pick a breaker at least 1.25× your charger’s max amps. (E.g. 50 A breaker for a 40 A charger). This is an electrical code requirement to prevent overload.
- GFCI/Protection: Newer code (NEC 2020+) may require ground-fault protection (GFCI) for all 240 V EV circuits. Many chargers have built-in GFCI, but check local code or use a GFCI breaker if needed.
- Weatherproofing: If the charger is outside, it must be rainproof (NEMA 3R or better) and all connections sealed. Most Level 2 units are rated for outdoor use, but always check. Keep cables off the ground when not in use to avoid water pooling.
- Cable Length: Use a cord long enough to reach your car’s charging port comfortably (usually 18–25 ft). A too-short cable is inconvenient; too long can be heavy and costly.
- Surge Protection (Optional): Consider adding a surge protector or whole-home surge device, as EV chargers can sometimes be triggered by lightning surges.
Ballpark Costs
Here are rough price ranges:
- Level 2 Charger Unit: Typically $400–$1000 for a good 32–40 A Wi-Fi–enabled EVSE. Budget models may be a few hundred, while high-end (48 A, smart features) can run $800+. For example, many Home Depot/Amazon models are ~$500–$600. Tesla’s Wall Connector is around $400 (does up to 48 A on a 60 A circuit).
- Electrical Materials: Breakers, wire, outlets, etc. might add $100–$300 depending on complexity. A 50 A breaker is ~$20–$50. A spool of 6 AWG wire is maybe $50. Conduit and connectors a few tens of dollars.
- DIY Installation Cost: If you do it yourself, you mainly pay for parts. The biggest cost saved is labor. However, plan for the permit fee (often $50–$200) and any tool rentals. A DIYer might end up spending $600–$1500 total for a standard install (charger + hardware).
- Electrician Installation Cost: Hiring a pro typically costs $500–$2000+ depending on your region and job difficulty. Qmerit notes national averages around $1,200. Easy installs (short wire, existing outlet) might be on the low end ($300–$600). Complex ones (panel upgrade needed, long wiring run) can exceed $3,000.
Incentives: Don’t forget federal, state, or utility rebates for EV charging! You may get a tax credit or rebate that covers part of the charger cost or installation. Check the IRS or PlugStar for current incentives.
Where to Buy Chargers
- Manufacturer Websites: Tesla (tesla.com), ChargePoint (chargepoint.com), JuiceBox/Enel X (empirevr.com or enelx.com), Blink, Wallbox, etc. These often have the latest models and prices.
- Auto Dealer/Brand Stores: Some automakers offer a bundled EV home charger (e.g. Nissan sells a Wallbox home charger; Hyundai/Kia sometimes offer home charger deals).
- Online Retailers: Amazon, Home Depot, Lowe’s, Best Buy, and specialty retailers sell many EVSE brands. Read reviews to pick a well-supported model.
- Local Electrical Supply: If you have a tradesman supply or electrical wholesaler, they sometimes carry EVSEs.
- EV Charger Directories: Use resources like PlugStar (plugstar.com) or Energy.gov to compare models and links.
Regardless of where you buy, make sure the charger is UL or ETL-listed for safety (Energy Star certified is a plus).
Installing your own Level 2 charger can sound tricky, but break it into steps, check your local rules, and take it slow. With the right tools (and maybe a little help from a pro)!
Sources: U.S. EPA/DOE charging guides, Qmerit and Energy.gov installation guides, and automaker info.